It is possible to create a 2D drawing from a 3D model using the NX Drafting application. In this basic example, we are going to use the 3D model on figure 1 .

Figure 1 – 3D model.
Firstly, we need to start the Drafting application. With the 3D model opened at NX, go to File > Drafting. This will disables the Modelling application and start the Drafting application.
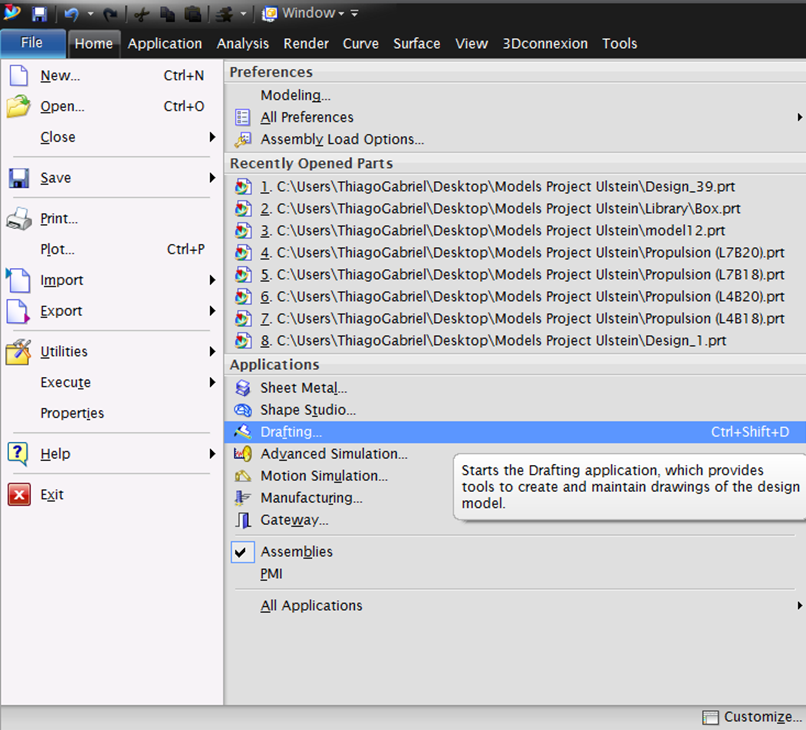
Figure 2 – Starting the Drafting application.
Once the Drafting application is launched, the Sheet dialogue window (figure 3) will appear. Here, it is possible to choose between pre-defined templates for the paper or even create a new one. After the sheet is selected the Populate Title Block dialogue window (figure 4) will appear. Here it is possible to define some drawing main identification fields, located at the lower-right corner of the paper.
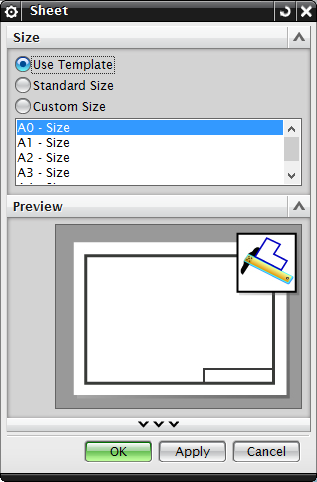
Figure 3 – Sheet Dialogue window.
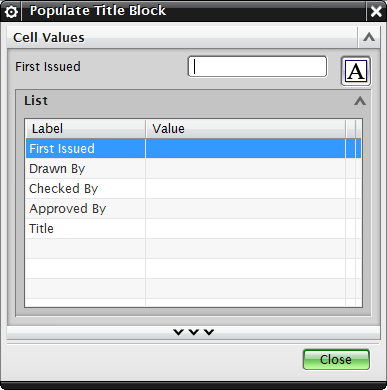
Figure 4 – Populate Title Block dialogue window.
After the paper was completely defined, the 2D drawing can be added. Using the button View Creation Wizard (figure 5), it is possible to add a desired view to the drawing paper.
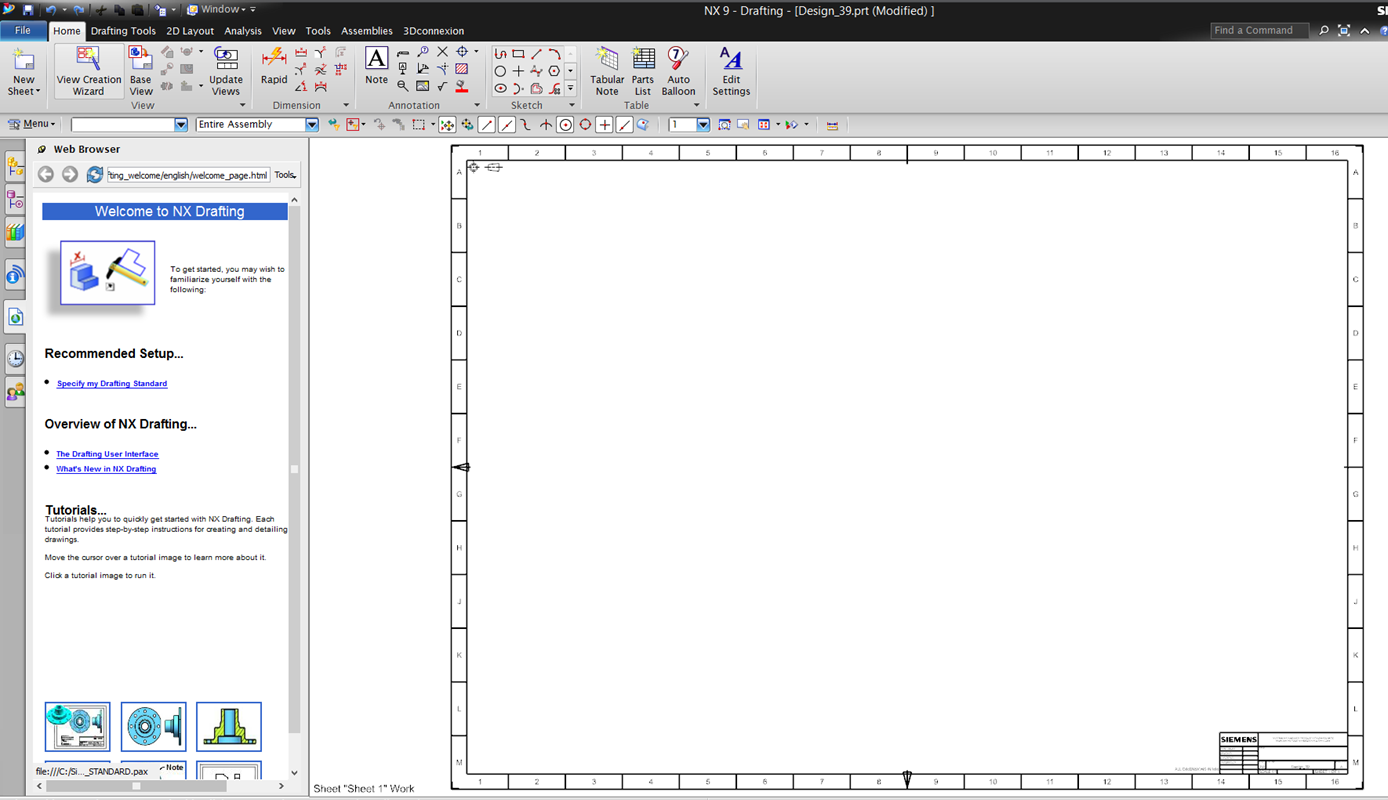
Figure 5 – Adding the desired view.
Over the tab Part (figure 6), it is possible to select the part which you want to have the 2D drawing. In this case it will be selected the entire assembly.
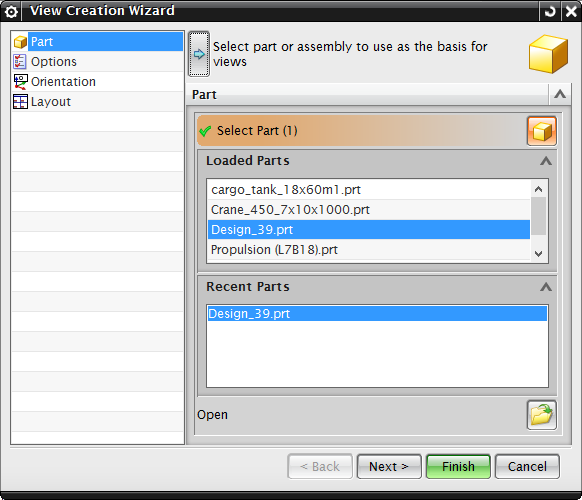
Figure 6 – Selecting the desired part.
Over the tab Options (figure 7), it is possible to select the draw scale ratio and some options about lines and preview style.
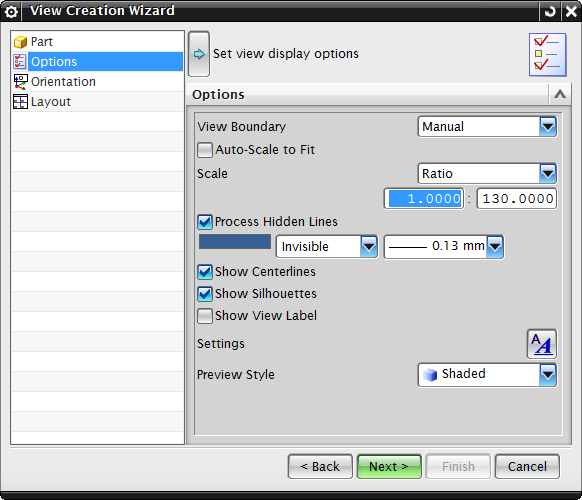
Figure 7 – Customizing the 2D draw aspect.
Over the tab Orientation (figure 8), it is possible to select the view that you want to draw, including three dimensional ones, like Isometric.
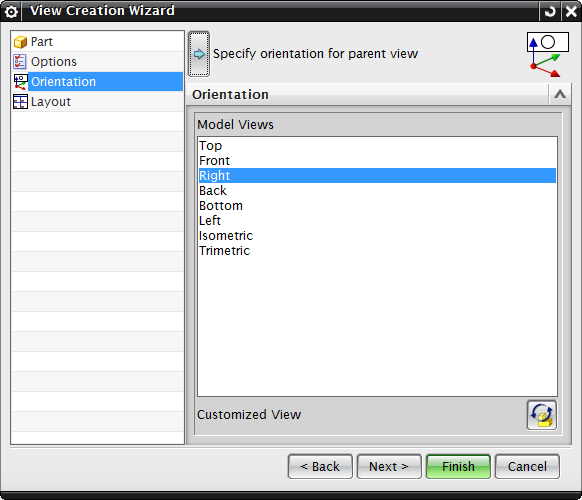
Figure 1 – Selecting the views.
Over the tab Layout (figure 9), it is possible to select the placement method and if you want to add any additional view to the drawing.
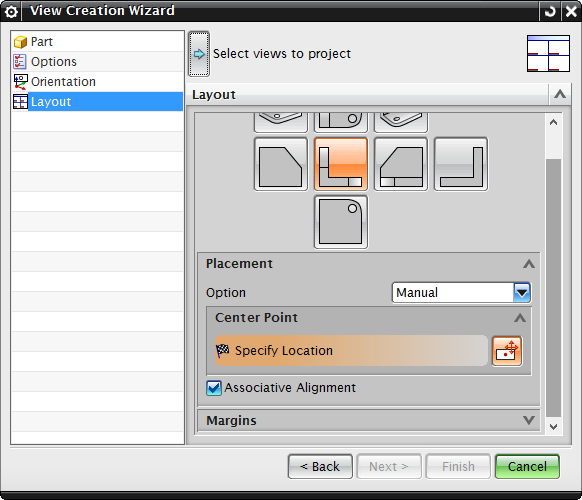
Figure 9 – Layout tab.
The view creation process result can be seen on figure 10.
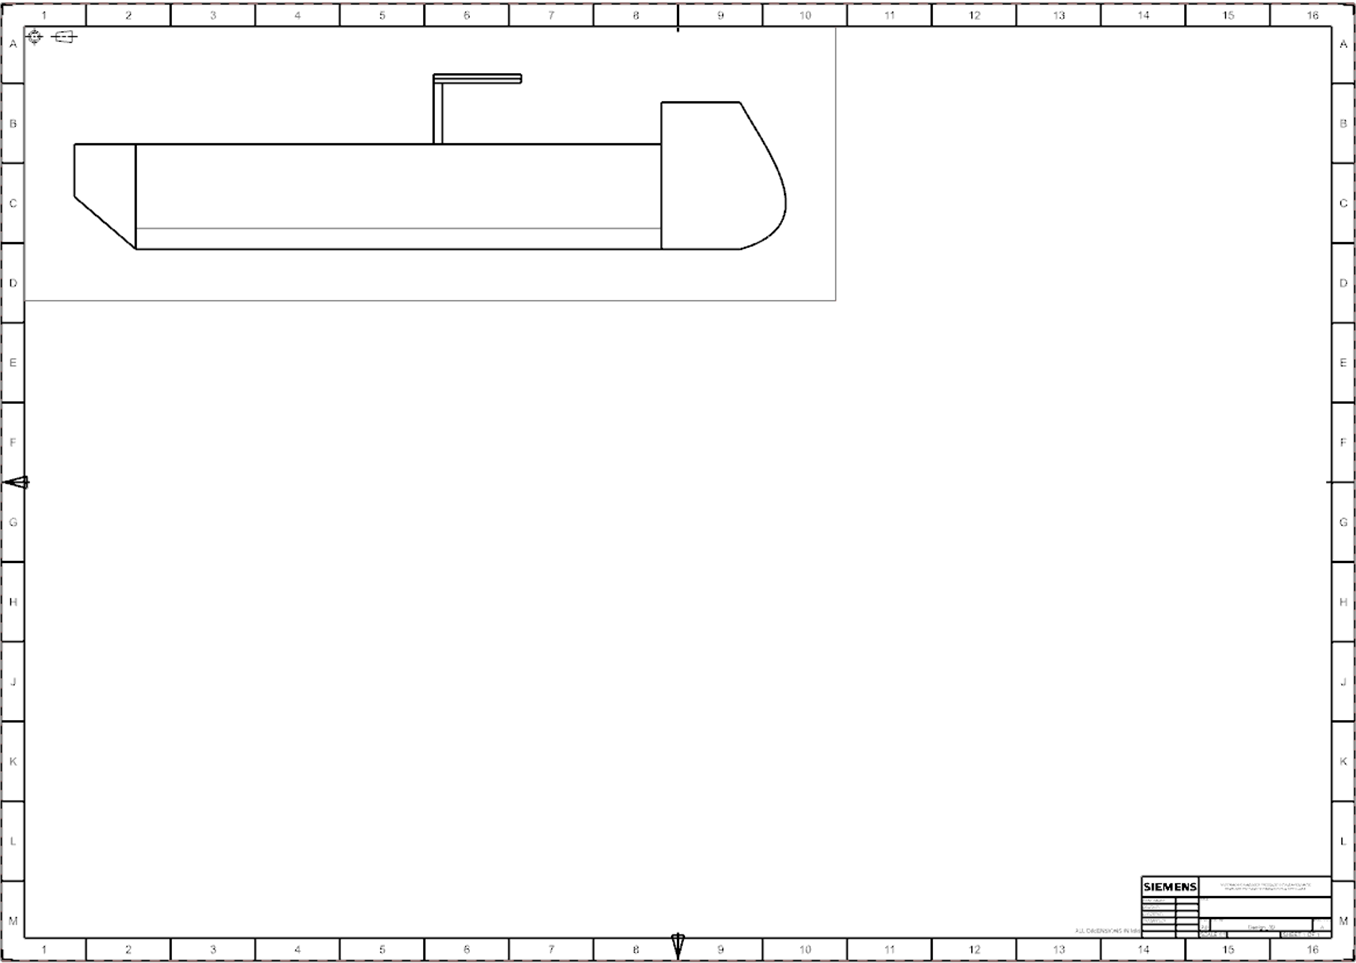
Figure 10 – 2D draw of the 3D model.
It is also possible to add section views to better detail the model. This can be done through the button Section View, as shown on figure 11.
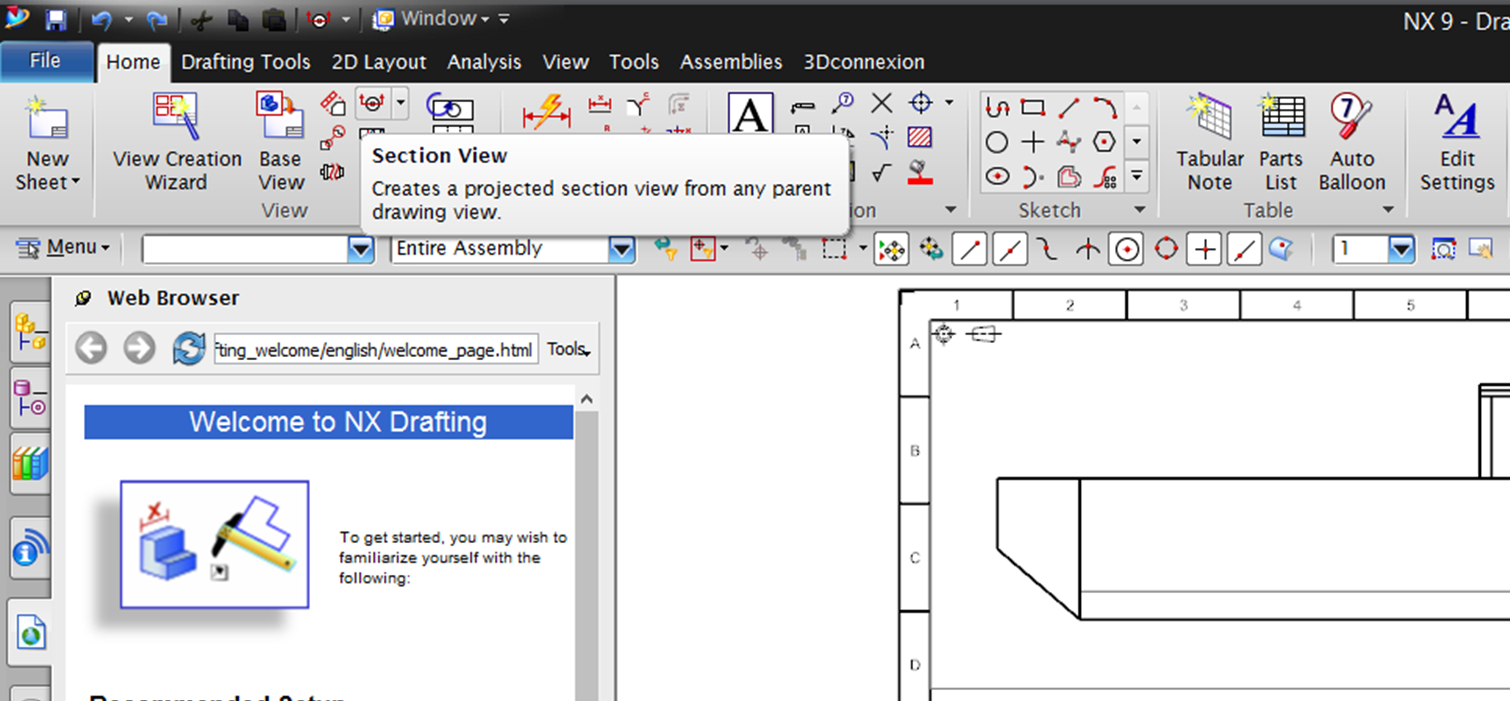
Figure 11 – Section View tool.
After the Section View dialogue windows pop up, the placed view should be selected. So, an hinge line (in orange on figure 12) which define the cross section to be projected should be positioned at the desired place over the placed view. Special attention is needed regarding the black arrows on the ends of the hinge line. They define the direction in which you are looking the projected section. If desired, the direction can be flipped using the Hinge Line option on the Section View dialogue windows.
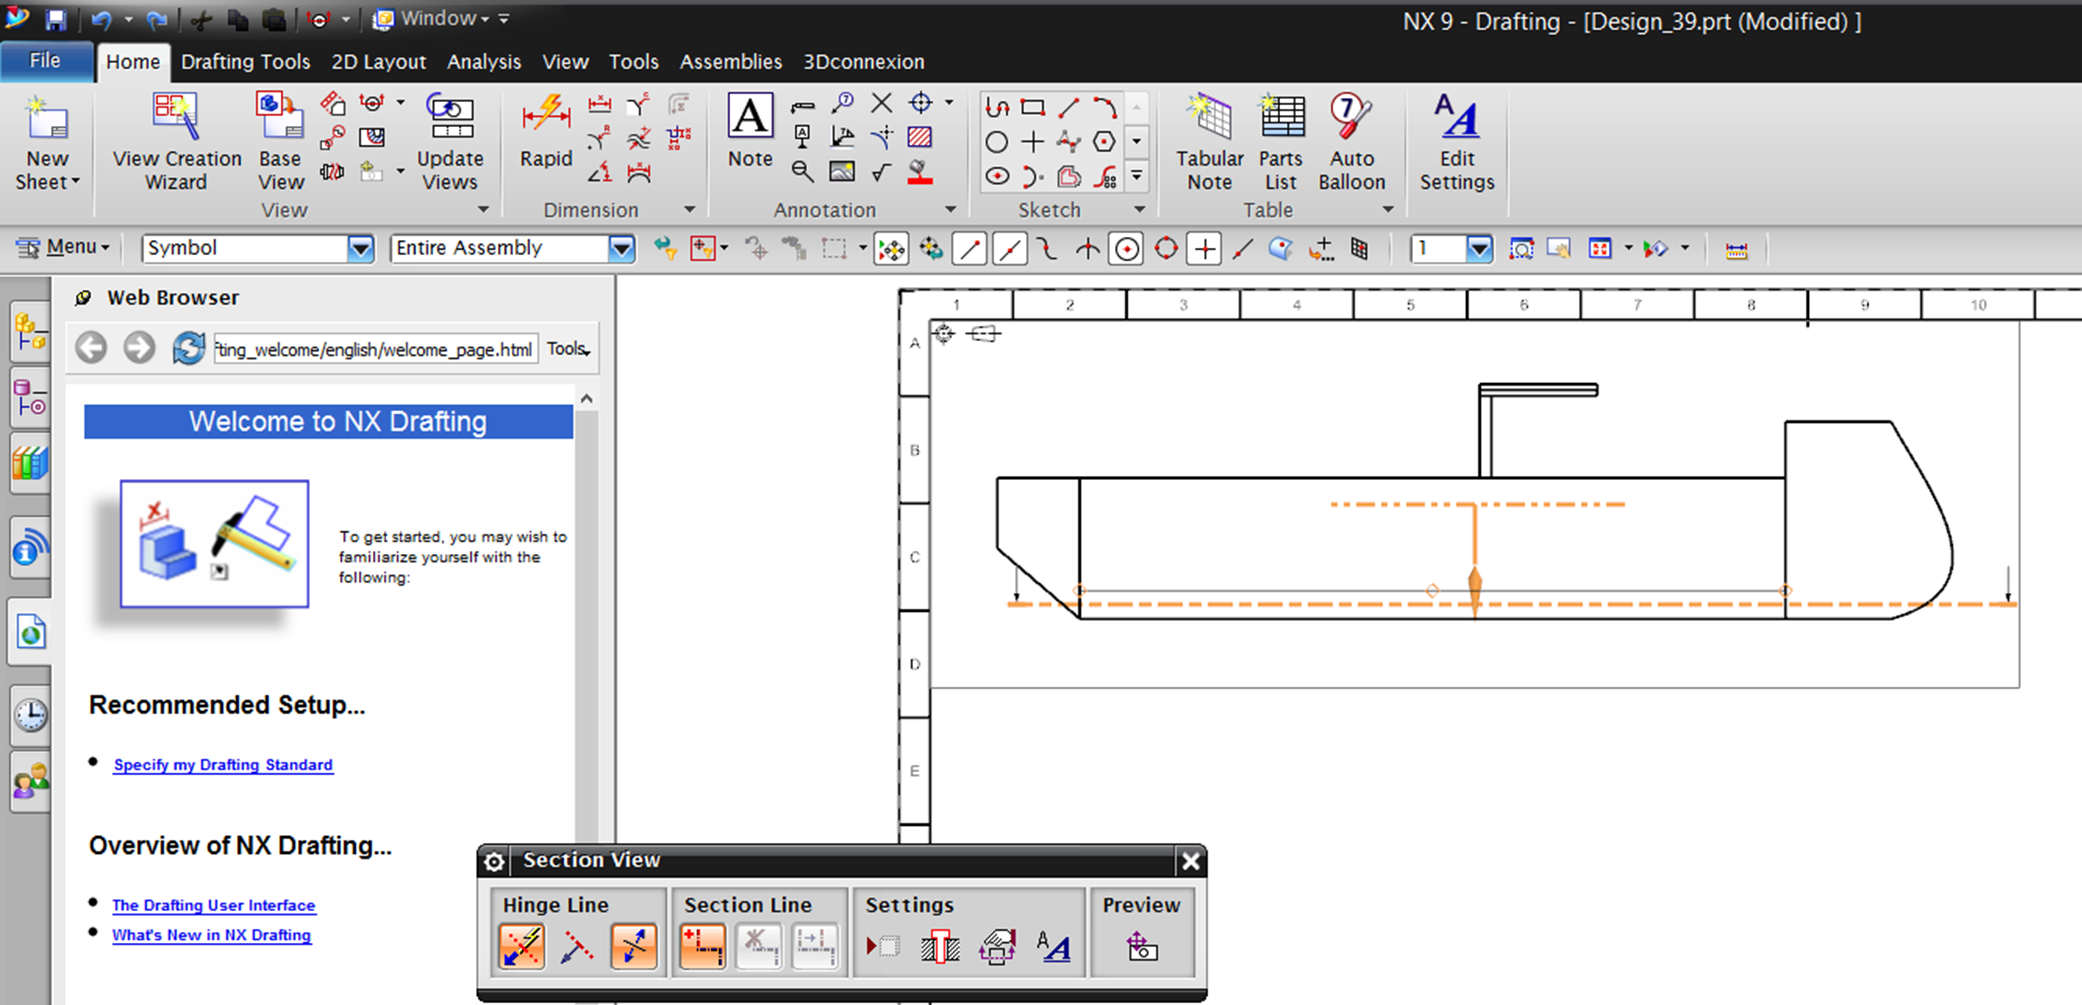
Figure 12 – Defining the plane of view.
After the section is selected, it can be positioned over the paper sheet, as shown on figure 13. Repeat this process as needed in order to represent all the model important sections.
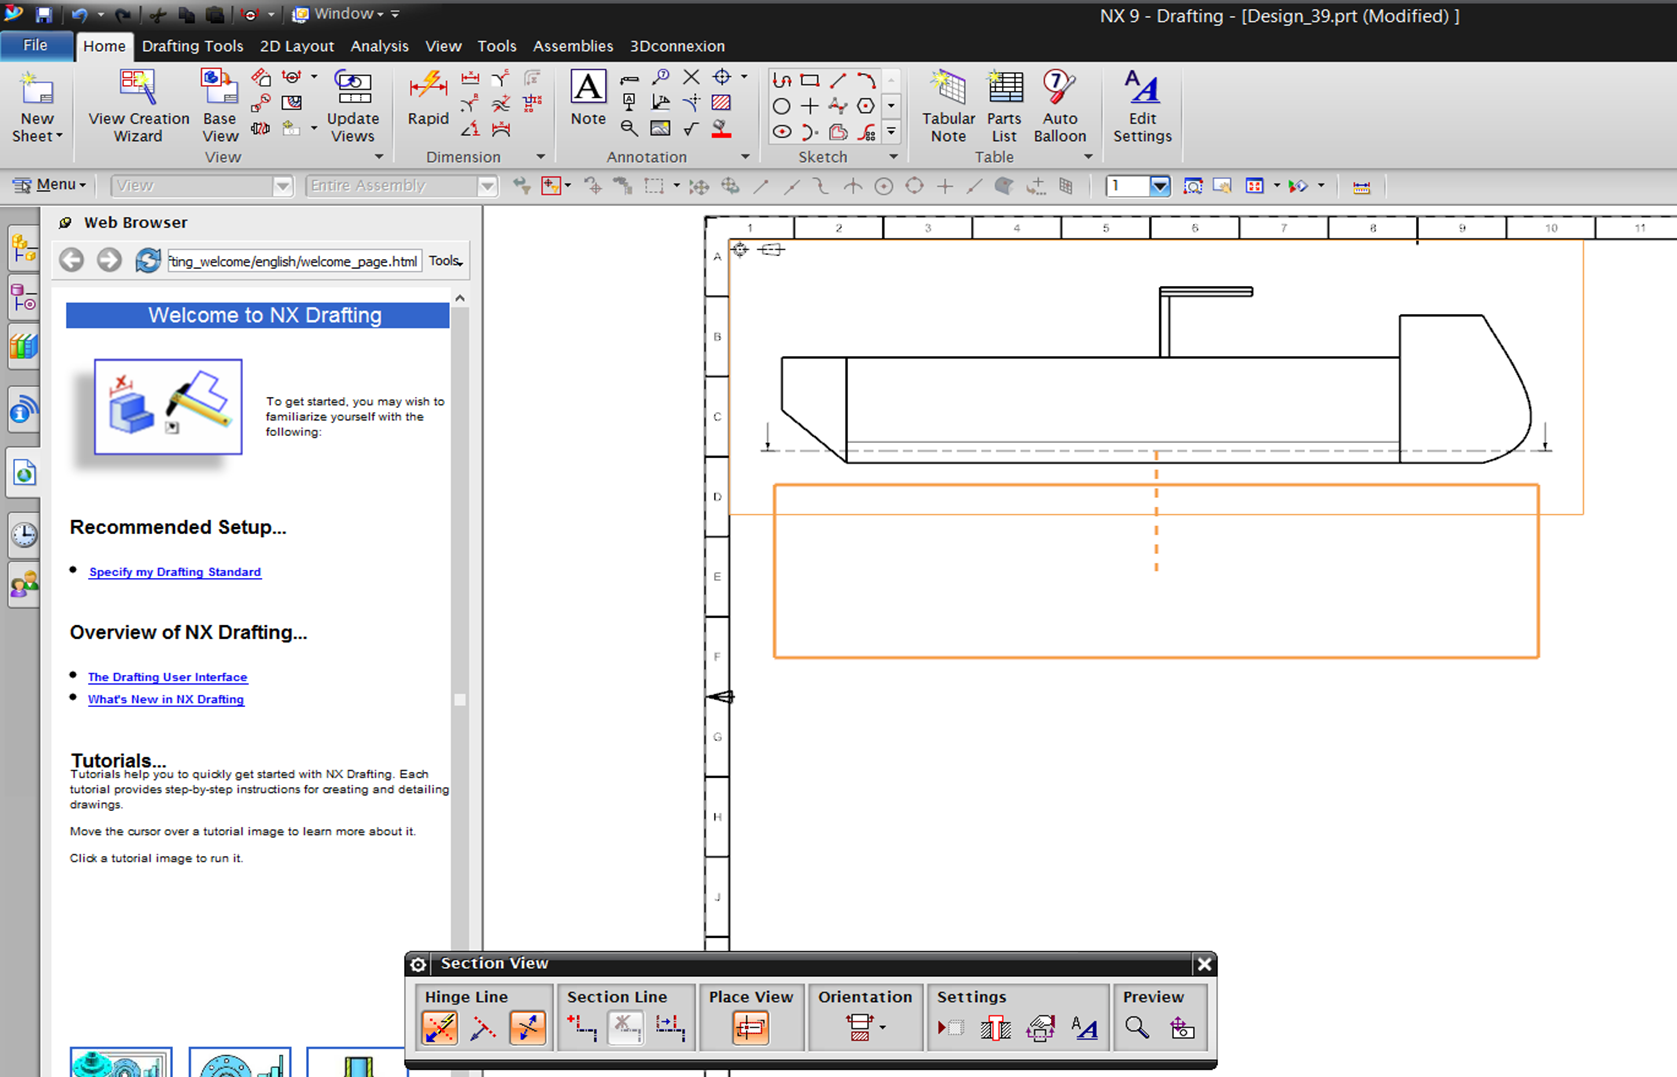
Figure 13 – Positioning the view.
An Example of finalized 2D drawing, with section views can be seen on figure 14.
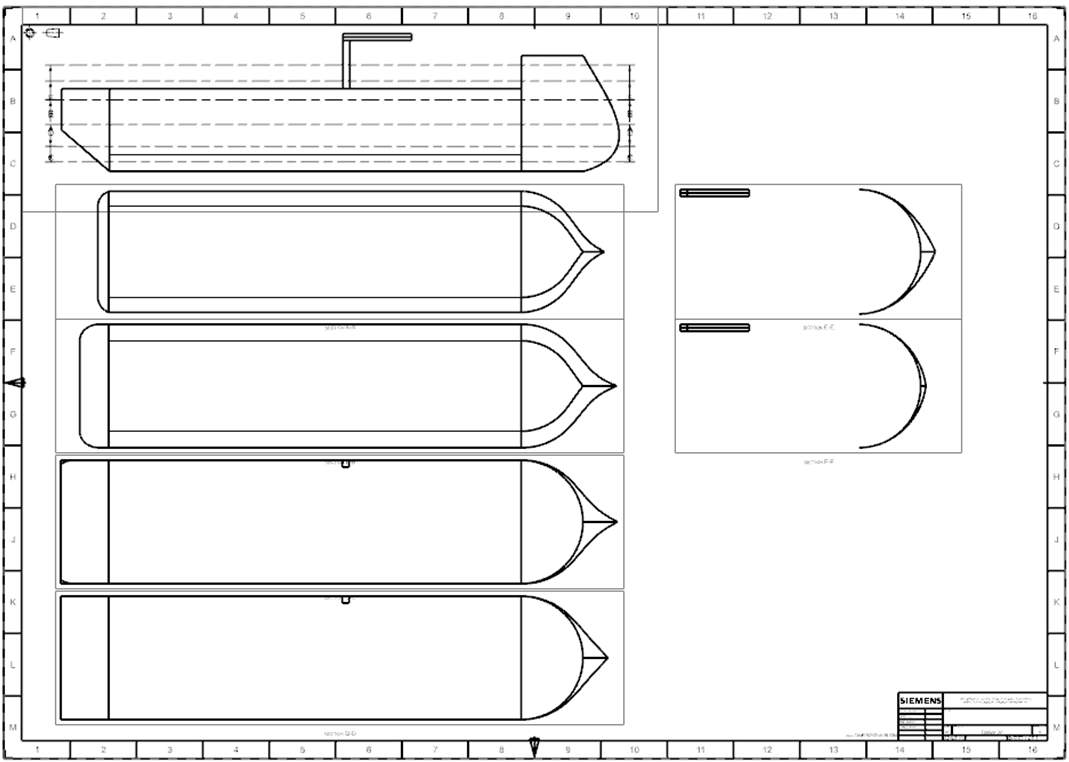
Figure 14 – The finalized representation of the initial example.
